Connect BeeSwitch to API Relay#
BeeSwitch gives you one API key for compatible AI models across your coding workflow. This guide shows you how to connect that key to these popular 3rd party opensource API Relay desktop tools to enable dynamic control over API switching/MCP, Skills, Sessions, cross app session management, and more.CC Switch — the simplest choice if you use both Claude Code and Codex or regularly switch between providers. Codex++ — a launcher and provider manager for the official Codex desktop app. Cockpit Tools — a broader local account and multi-instance manager, including Codex API-key accounts. These are independent, third-party open-source projects. Their screens and menu names may change between releases. Download them only from the official websites or GitHub repositories linked in this guide.
Before you begin#
1.
An active BeeSwitch account with available balance or an eligible plan.
2.
A BeeSwitch API key created from the API Keys page in your BeeSwitch dashboard.
3.
At least one model enabled for that key.
4.
The exact model ID you want to use. Copy it from the BeeSwitch model list instead of guessing it.
5.
The underlying app you plan to run, such as Claude Code, Codex CLI, or the official Codex desktop app.
BeeSwitch connection details#
| Use case | BeeSwitch Base URL | Recommended protocol |
|---|
| Codex and OpenAI-compatible tools | https://api.beeswitch.com/v1 | Responses API |
| Claude Code and Anthropic-compatible tools | https://api.beeswitch.com | Anthropic Messages |
For Claude Code, do not add /v1 to ANTHROPIC_BASE_URL. Claude Code adds the /v1/messages path itself. For Codex, use the Base URL ending in /v1.Option A: CC Switch#
CC Switch manages provider configurations for Claude Code, Codex, and several other coding tools from one desktop interface. It is the best general-purpose choice if you use more than one coding agent or expect to switch providers frequently.1. Install CC Switch#
Windows: Download the current .msi installer or portable .zip from the official Releases page.macOS: Download the current .dmg, or install with Homebrew:Linux: Download the appropriate .deb, .rpm, or .AppImage from the official Releases page.Install Claude Code or Codex separately before continuing. CC Switch manages their configuration; it is not a replacement for the coding agent itself.2. Connect BeeSwitch with one click#
After you create your BeeSwitch API key:1.
Open API Keys in BeeSwitch.
2.
Find the API key you want to use.
3.
Under Actions, select the three-dot ⋯ menu.
5.
Allow your browser to open the ccswitch:// link. Your operating system may display a confirmation prompt the first time.
6.
CC Switch will open the provider configuration dialog with your BeeSwitch connection information already filled in.
7.
Choose the target application: Claude, Codex, or another supported application shown in your version.
8.
Enter a recognizable name such as BeeSwitch.
9.
Select the main model and any optional model tiers you want to use.
10.
Select Open CC Switch or confirm the import.
11.
Enable the new BeeSwitch provider.
12.
Restart the target coding agent if it was already running.
3. Confirm the imported provider#
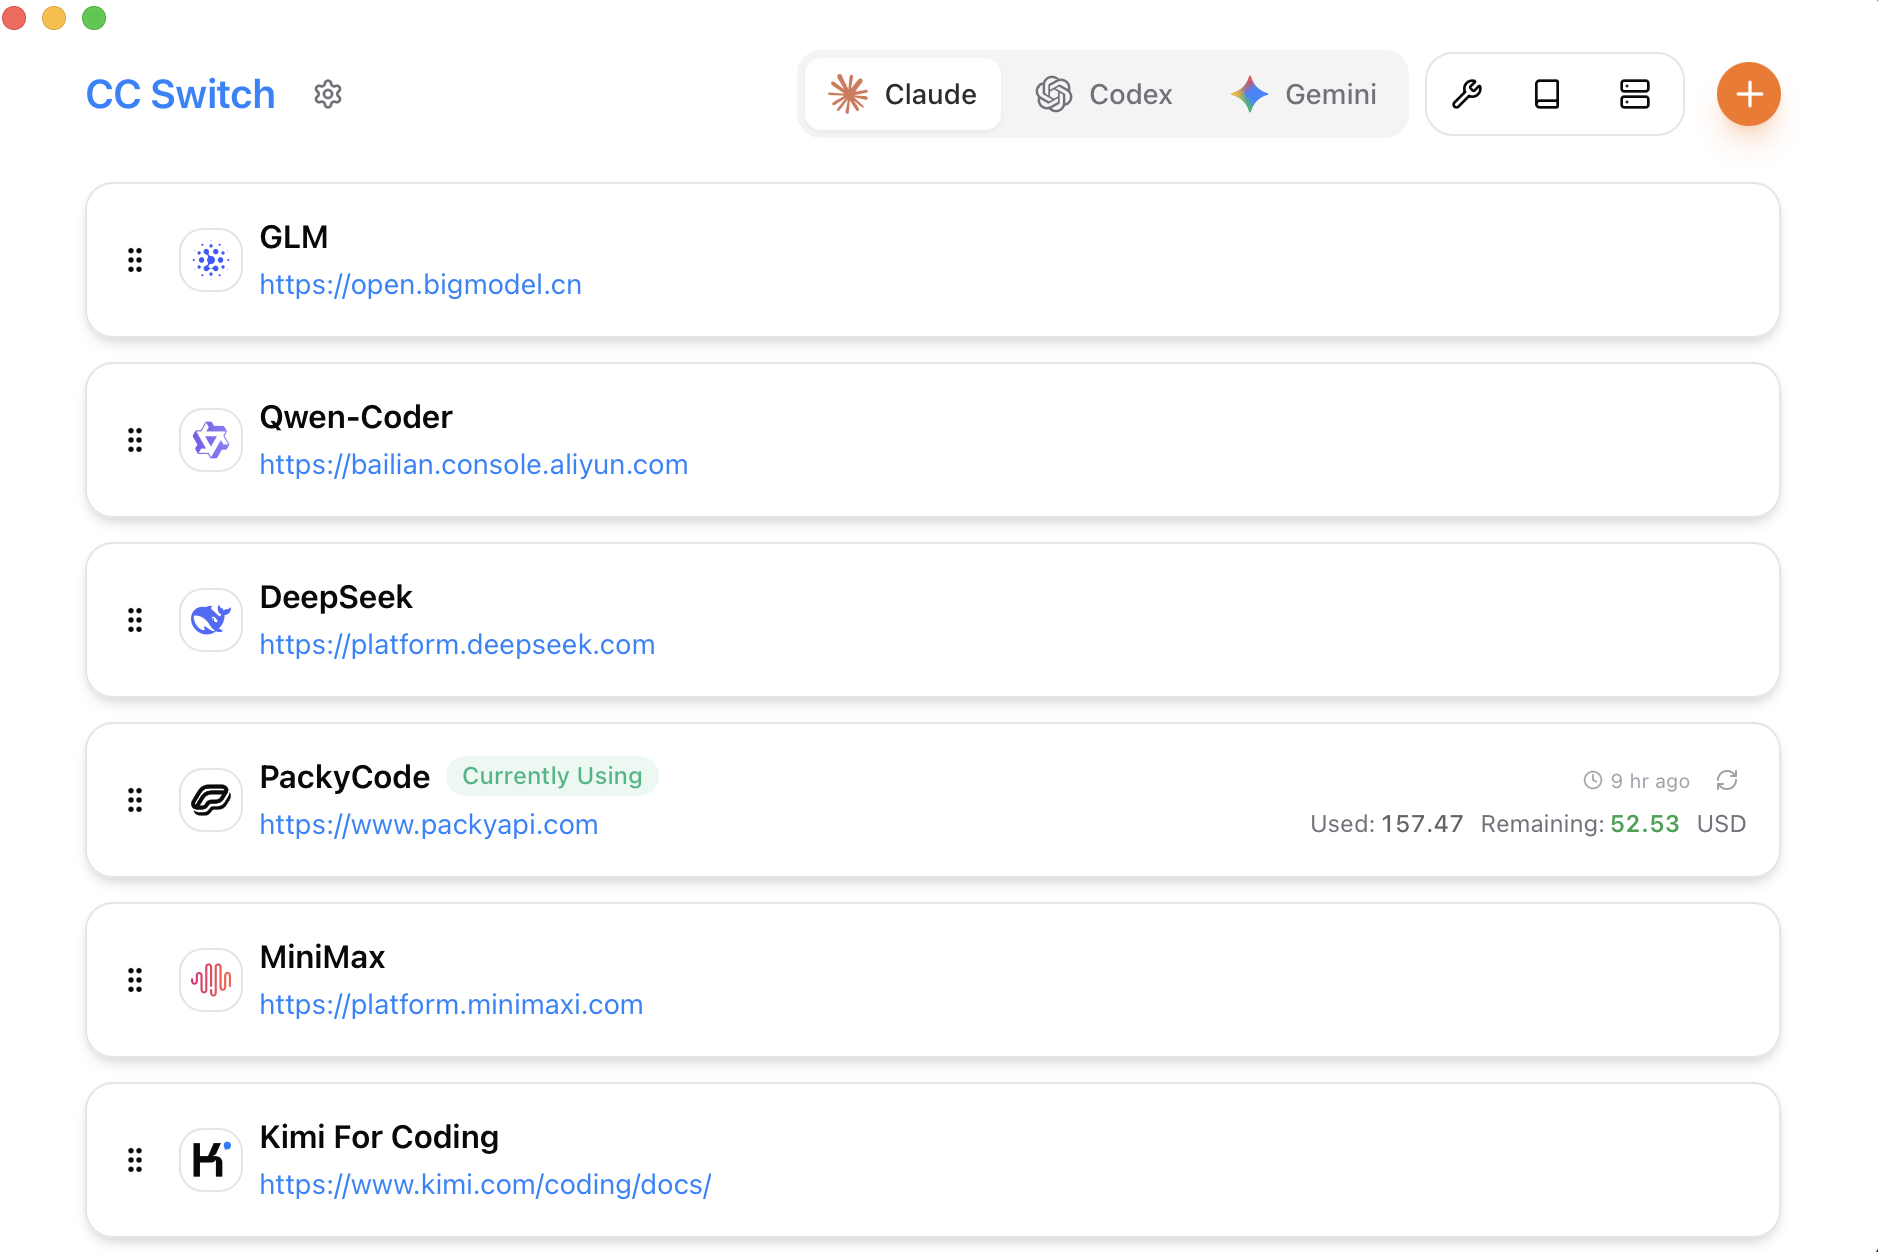
After the import, CC Switch should show BeeSwitch in its provider list. Select the provider and choose Enable if it is not already active.CC Switch interface shown for orientation. The current layout may vary by release.Send a small test request in Claude Code or Codex. Then open Usage Logs in BeeSwitch and confirm that the request appears under the expected API key and model.4. Manual Claude Code setup — fallback only#
Use this section only if the one-click link does not open or the import is interrupted.1.
Open CC Switch and select Claude Code.
2.
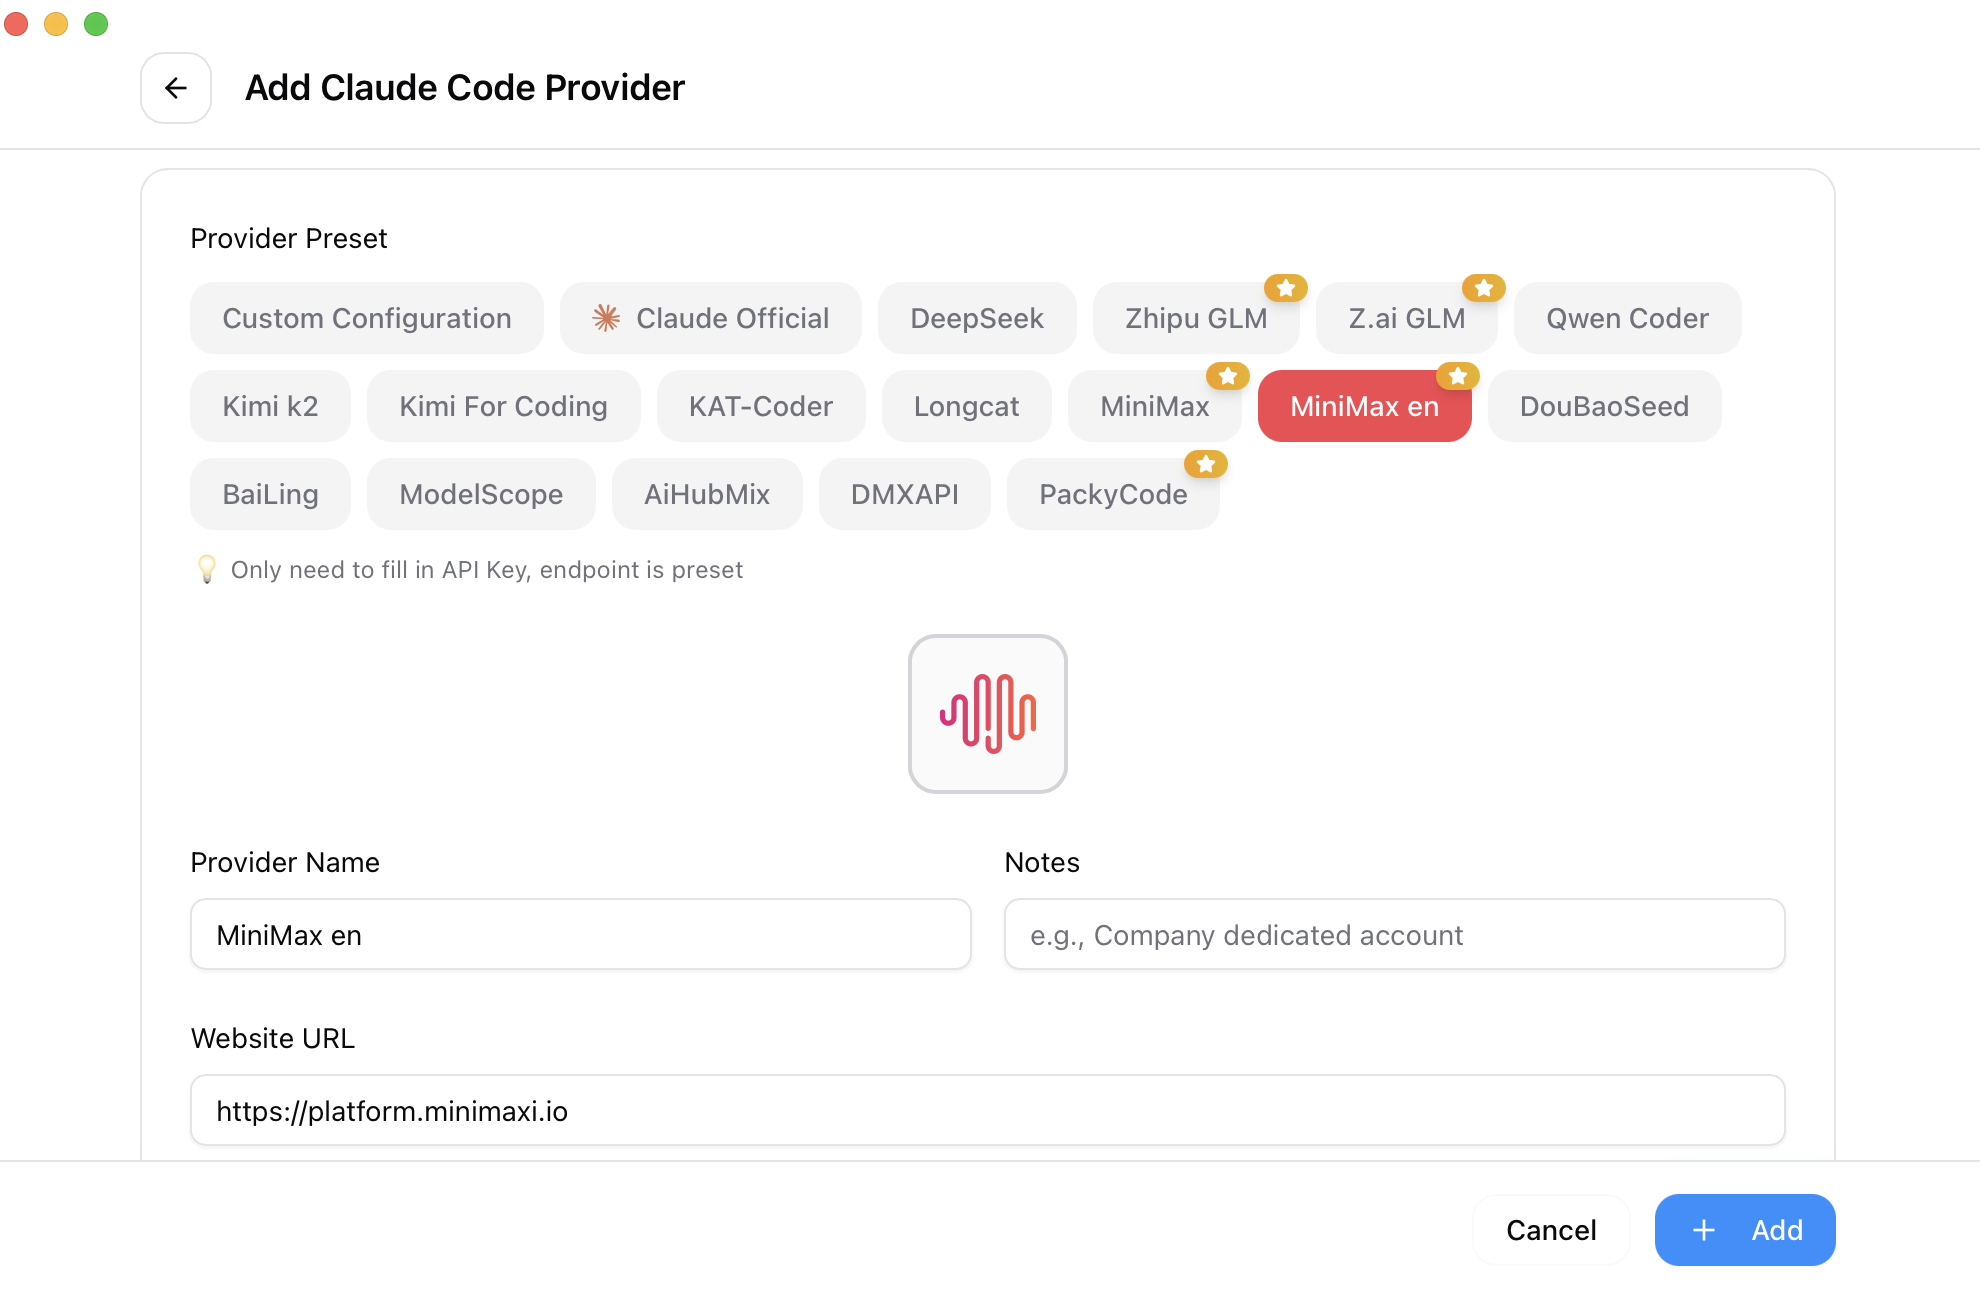
Select Add Provider, then choose a custom provider configuration.
3.
Enter the following values:
| Field | Value |
|---|
| Name | BeeSwitch |
| Base URL | https://api.beeswitch.com |
| API key / auth token | Your BeeSwitch API key |
| Protocol, if shown | Anthropic Messages |
| Main model | An exact Claude-compatible model ID from BeeSwitch |
4.
If CC Switch offers separate Haiku, Sonnet, or Opus fields, select the BeeSwitch model you want for each tier. You may leave optional tiers unassigned.
5.
Save the provider and select Enable.
6.
Close any already-running Claude Code process, open a new terminal, and run:
5. Manual Codex setup — fallback only#
Use this section only if the one-click link does not open or the import is interrupted.1.
Open CC Switch and select Codex.
2.
Select Add Provider, then choose a custom provider configuration.
3.
Enter the following values:
| Field | Value |
|---|
| Name | BeeSwitch |
| Base URL | https://api.beeswitch.com/v1 |
| API key | Your BeeSwitch API key |
| Protocol / Wire API | Responses |
| Model | An exact Codex-compatible model ID from BeeSwitch |
4.
Save the provider and select Enable.
5.
Restart Codex or open a new terminal before starting codex.
Option B: Codex++#
Codex++ is designed for the official Codex desktop app. It adds provider switching, model management, diagnostics, session tools, and optional interface enhancements without modifying the official app's installed files.Codex++ Manager shown for orientation. The current layout may vary by release.1. Install the required apps#
1.
Install the official Codex desktop app first.
2.
Download the correct Codex++ installer from GitHub Releases:Windows: CodexPlusPlus-*-windows-x64-setup.exe
macOS Intel: CodexPlusPlus-*-macos-x64.dmg
macOS Apple Silicon: CodexPlusPlus-*-macos-arm64.dmg
4.
Confirm that the manager detected the official Codex app. If it did not, select the app path manually.
2. Create a BeeSwitch provider#
1.
In Codex++ Manager, open the provider configuration area.
3.
Enter the following values:
| Field | Value |
|---|
| Provider name | BeeSwitch |
| Access mode | Pure API |
| Base URL | https://api.beeswitch.com/v1 |
| API key | Your BeeSwitch API key |
| Protocol | Responses |
| Test model | An exact Codex-compatible model ID from BeeSwitch |
4.
Use model discovery, if available, to load the models accessible to your key.
6.
Switch the active provider to BeeSwitch.
3. Test and launch#
1.
Run the provider's Model test or Provider Doctor.
2.
Confirm that the Base URL, API key, protocol, and test model all pass.
3.
Close any existing official Codex desktop process.
4.
Launch the app through the Codex++ entry, not directly from the original Codex shortcut.
4. If a model only supports Chat Completions#
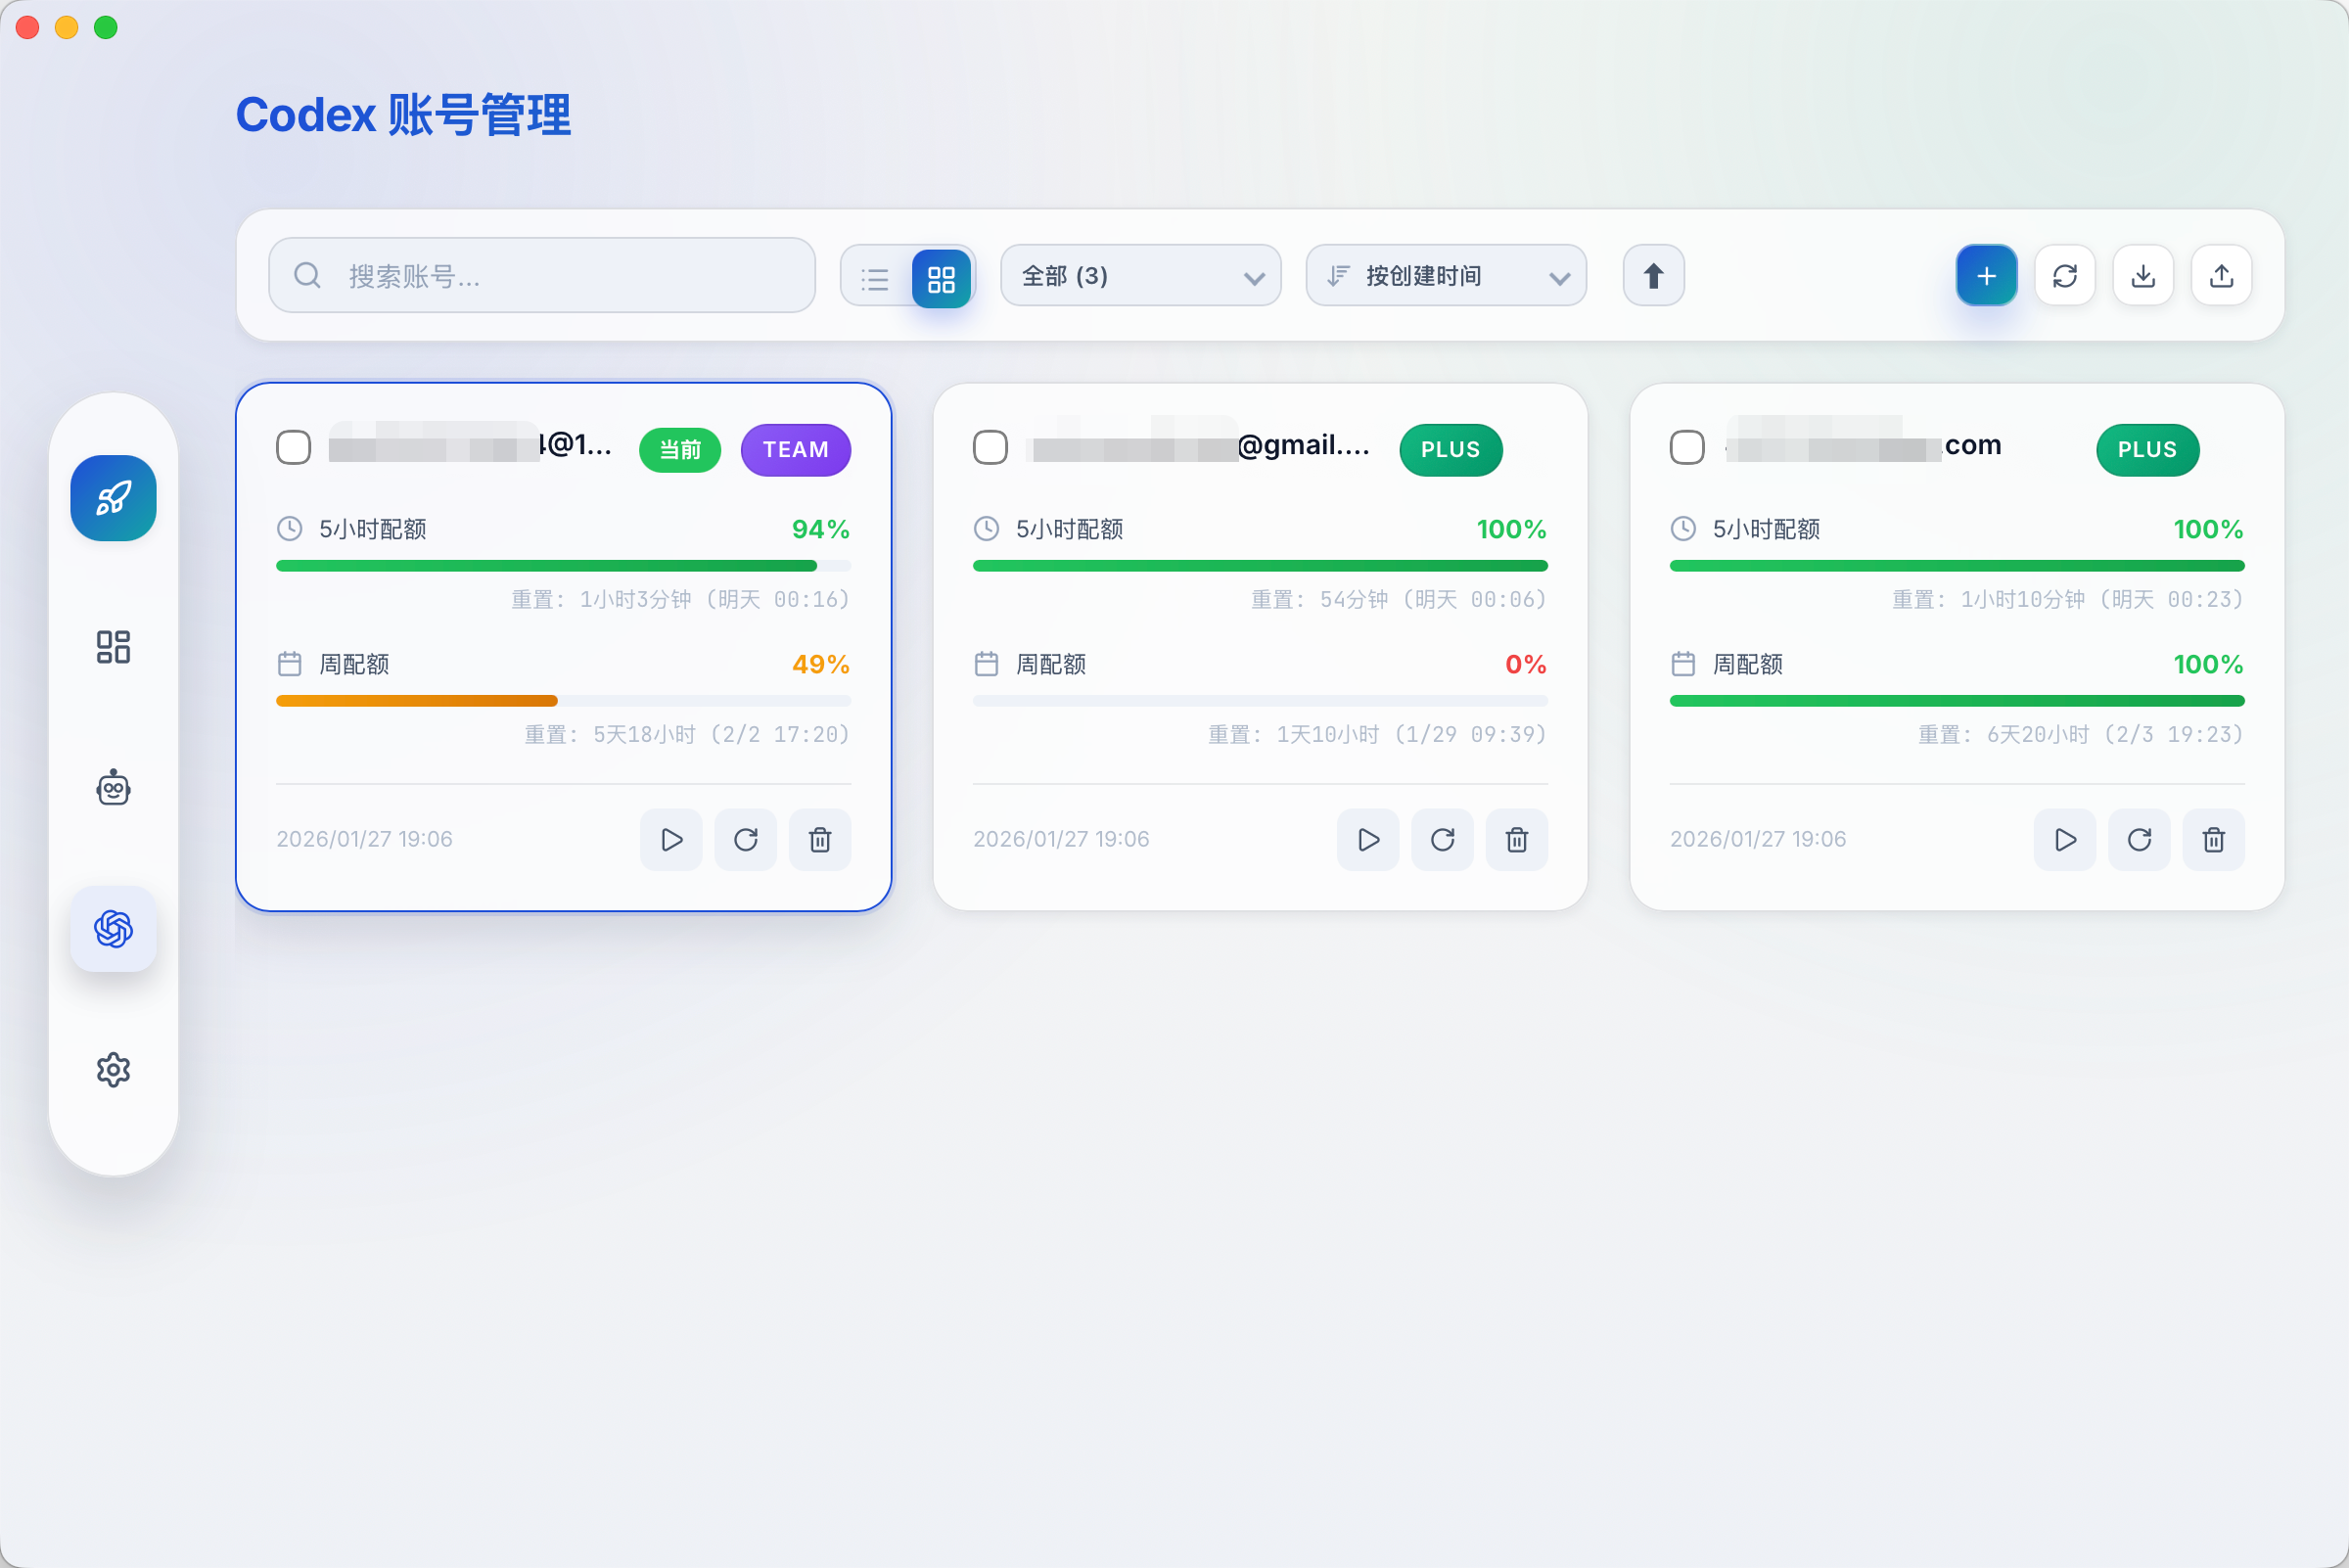
Use Responses whenever the selected BeeSwitch route supports it. If the route supports only Chat Completions, change the provider protocol to Chat Completions. Codex++ can convert Chat Completions locally into the Responses format expected by Codex, but Codex must then be launched through Codex++ for the local protocol bridge to run.Cockpit Tools is a local desktop manager for multiple AI coding accounts and parallel app instances. The steps below use its Codex API-key workflow with BeeSwitch.Cockpit Tools Codex accounts page shown for orientation. The current layout may vary by release.Windows: Download the current .msi or .exe from GitHub Releases.macOS: Download the correct .dmg, or install with Homebrew:Linux: Download the appropriate .deb, .rpm, or .AppImage from GitHub Releases.Cockpit Tools' repository currently describes its default license as non-commercial. If you plan to use it inside a business or as part of a paid service, review the current repository license and contact its maintainer if required.
2. Add BeeSwitch as a model provider#
1.
Open Cockpit Tools and go to Codex.
2.
Open the Model Providers tab.
| Field | Value |
|---|
| Provider name | BeeSwitch |
| Base URL | https://api.beeswitch.com/v1 |
| API key | Your BeeSwitch API key |
| Protocol, if shown | Responses |
5.
Select Fetch from Provider under Model List.
6.
Review the returned model IDs and remove any models you do not want displayed.
7.
Enable Sync Provider Models to Codex if you want Cockpit Tools to generate and manage Codex's model catalog.
3. Add and activate the BeeSwitch API-key account#
1.
Return to the Codex accounts page.
4.
Reuse the saved BeeSwitch provider, or enter the BeeSwitch Base URL and API key when prompted.
5.
Select the default model.
6.
Save and switch to the new account.
7.
Launch Codex from Cockpit Tools.
4. Optional Claude CLI connection#
Some Cockpit Tools releases also expose an Add to Claude CLI action for compatible providers. If it is available, use:| Field | Value |
|---|
| Base URL | https://api.beeswitch.com |
| API key | Your BeeSwitch API key |
| Protocol | Anthropic Messages |
| Model | An exact Claude-compatible model ID from BeeSwitch |
If your installed version does not show this action, use CC Switch for Claude Code instead.Verify your BeeSwitch key independently#
If a desktop tool reports a vague connection error, test the key outside the tool. These examples use environment variables so the key is not written into your terminal history as part of the command.macOS or Linux#
Windows PowerShell#
$env:BEESWITCH_API_KEY = Read-Host "Paste your BeeSwitch API key"
List available models#
Test the Responses API#
Replace <MODEL_ID> with an exact model ID returned by the model-list request:Test the Anthropic Messages API#
Replace <CLAUDE_MODEL_ID> with an exact Claude-compatible model ID:Troubleshooting#
| Problem | What to check |
|---|
401 Unauthorized | The key may be incomplete, revoked, disabled, or pasted into the Base URL field. Create a new BeeSwitch key if necessary. |
403 Forbidden | Check the key's quota, expiration, allowed models, group, IP restrictions, and your BeeSwitch balance. |
404 Not Found | Check the Base URL and protocol. A common mistake is producing /v1/v1/... or using the Claude root URL in a Codex provider. |
model_not_found | Copy the exact model ID from BeeSwitch. Confirm that the key's group is allowed to use it. |
| Model list works, but chat fails | The selected route may not support the tool's required protocol or features. For Codex, prefer a route that supports the Responses API and tool calling. |
| Changes do not take effect | Fully quit and reopen the coding agent. For Codex++ and Cockpit Tools, launch Codex from the manager that applied the provider profile. |
| Tool calls or streaming fail | Try another compatible model route and confirm that the provider is using Responses for Codex or Anthropic Messages for Claude Code. |
| Request appears in BeeSwitch but the app fails | Review the BeeSwitch request log for the upstream error, then run the desktop tool's connection test or diagnostics. |
| No request appears in BeeSwitch | The app is probably still using an old or official provider. Re-enable BeeSwitch and restart the app. |
Key security recommendations#
Create a separate BeeSwitch API key for each tool or device. This makes usage easier to audit and lets you revoke one integration without interrupting the others.
Give each key a reasonable quota and expiration date.
Never post a real key in GitHub issues, screenshots, logs, chat messages, or shared configuration files.
Do not commit auth.json, .env, provider databases, or shell profiles containing keys to Git.
Revoke and replace a key immediately if it may have been exposed.
Download updates only from the project's official repository or website.
Support boundaries#
BeeSwitch can help with your BeeSwitch account, API key, balance, model access, request logs, and gateway responses. Installation issues or behavior inside CC Switch, Codex++, or Cockpit Tools are controlled by those independent projects and may require help from their maintainers.When contacting BeeSwitch support, include the approximate request time, model ID, tool name, operating system, and the BeeSwitch request ID if one is available. Do not send your API key.Technical references#
Modified at 2026-09-08 14:07:27